Easy Steps to wet felting a picture with children
Wet felting is an ancient process - all that is required is Soap and Water.
I already explained how to make pebbles in the newsletter ~ so let's jump right ahead!
For wet felting a picture you will need:
Wool (stuffing or inexpensive white wool fleece for the base of the picture)
Coloured Wool (wool, silk, yarn anything as long as it is mixed in with wool)
Soap (any soap will do, from washing up liquid to mum's special Bath Soap!)
Water (cold will do just fine)
netting or plastic/bubble wrap
I would recommend to start of small - children tend to be ambitious (and adults too!)
Start off with an A4 size ~ it will shrink by almost 25% once felted.
The most important bit is to get the laying out right:

You want to create a weave!
- One thin layer of wool with all the fibres all pointing in one direction
- A second thin layer with the fibres pointing in a 45 degree angle to the the first layer.
- A third thin layer with the fibres poiting in a 45 degree angle to the second one.
- Now add your design using the coloured wool to your heart's content!
Felting!
- Add Soap to water
- Sprinkle Water over picture
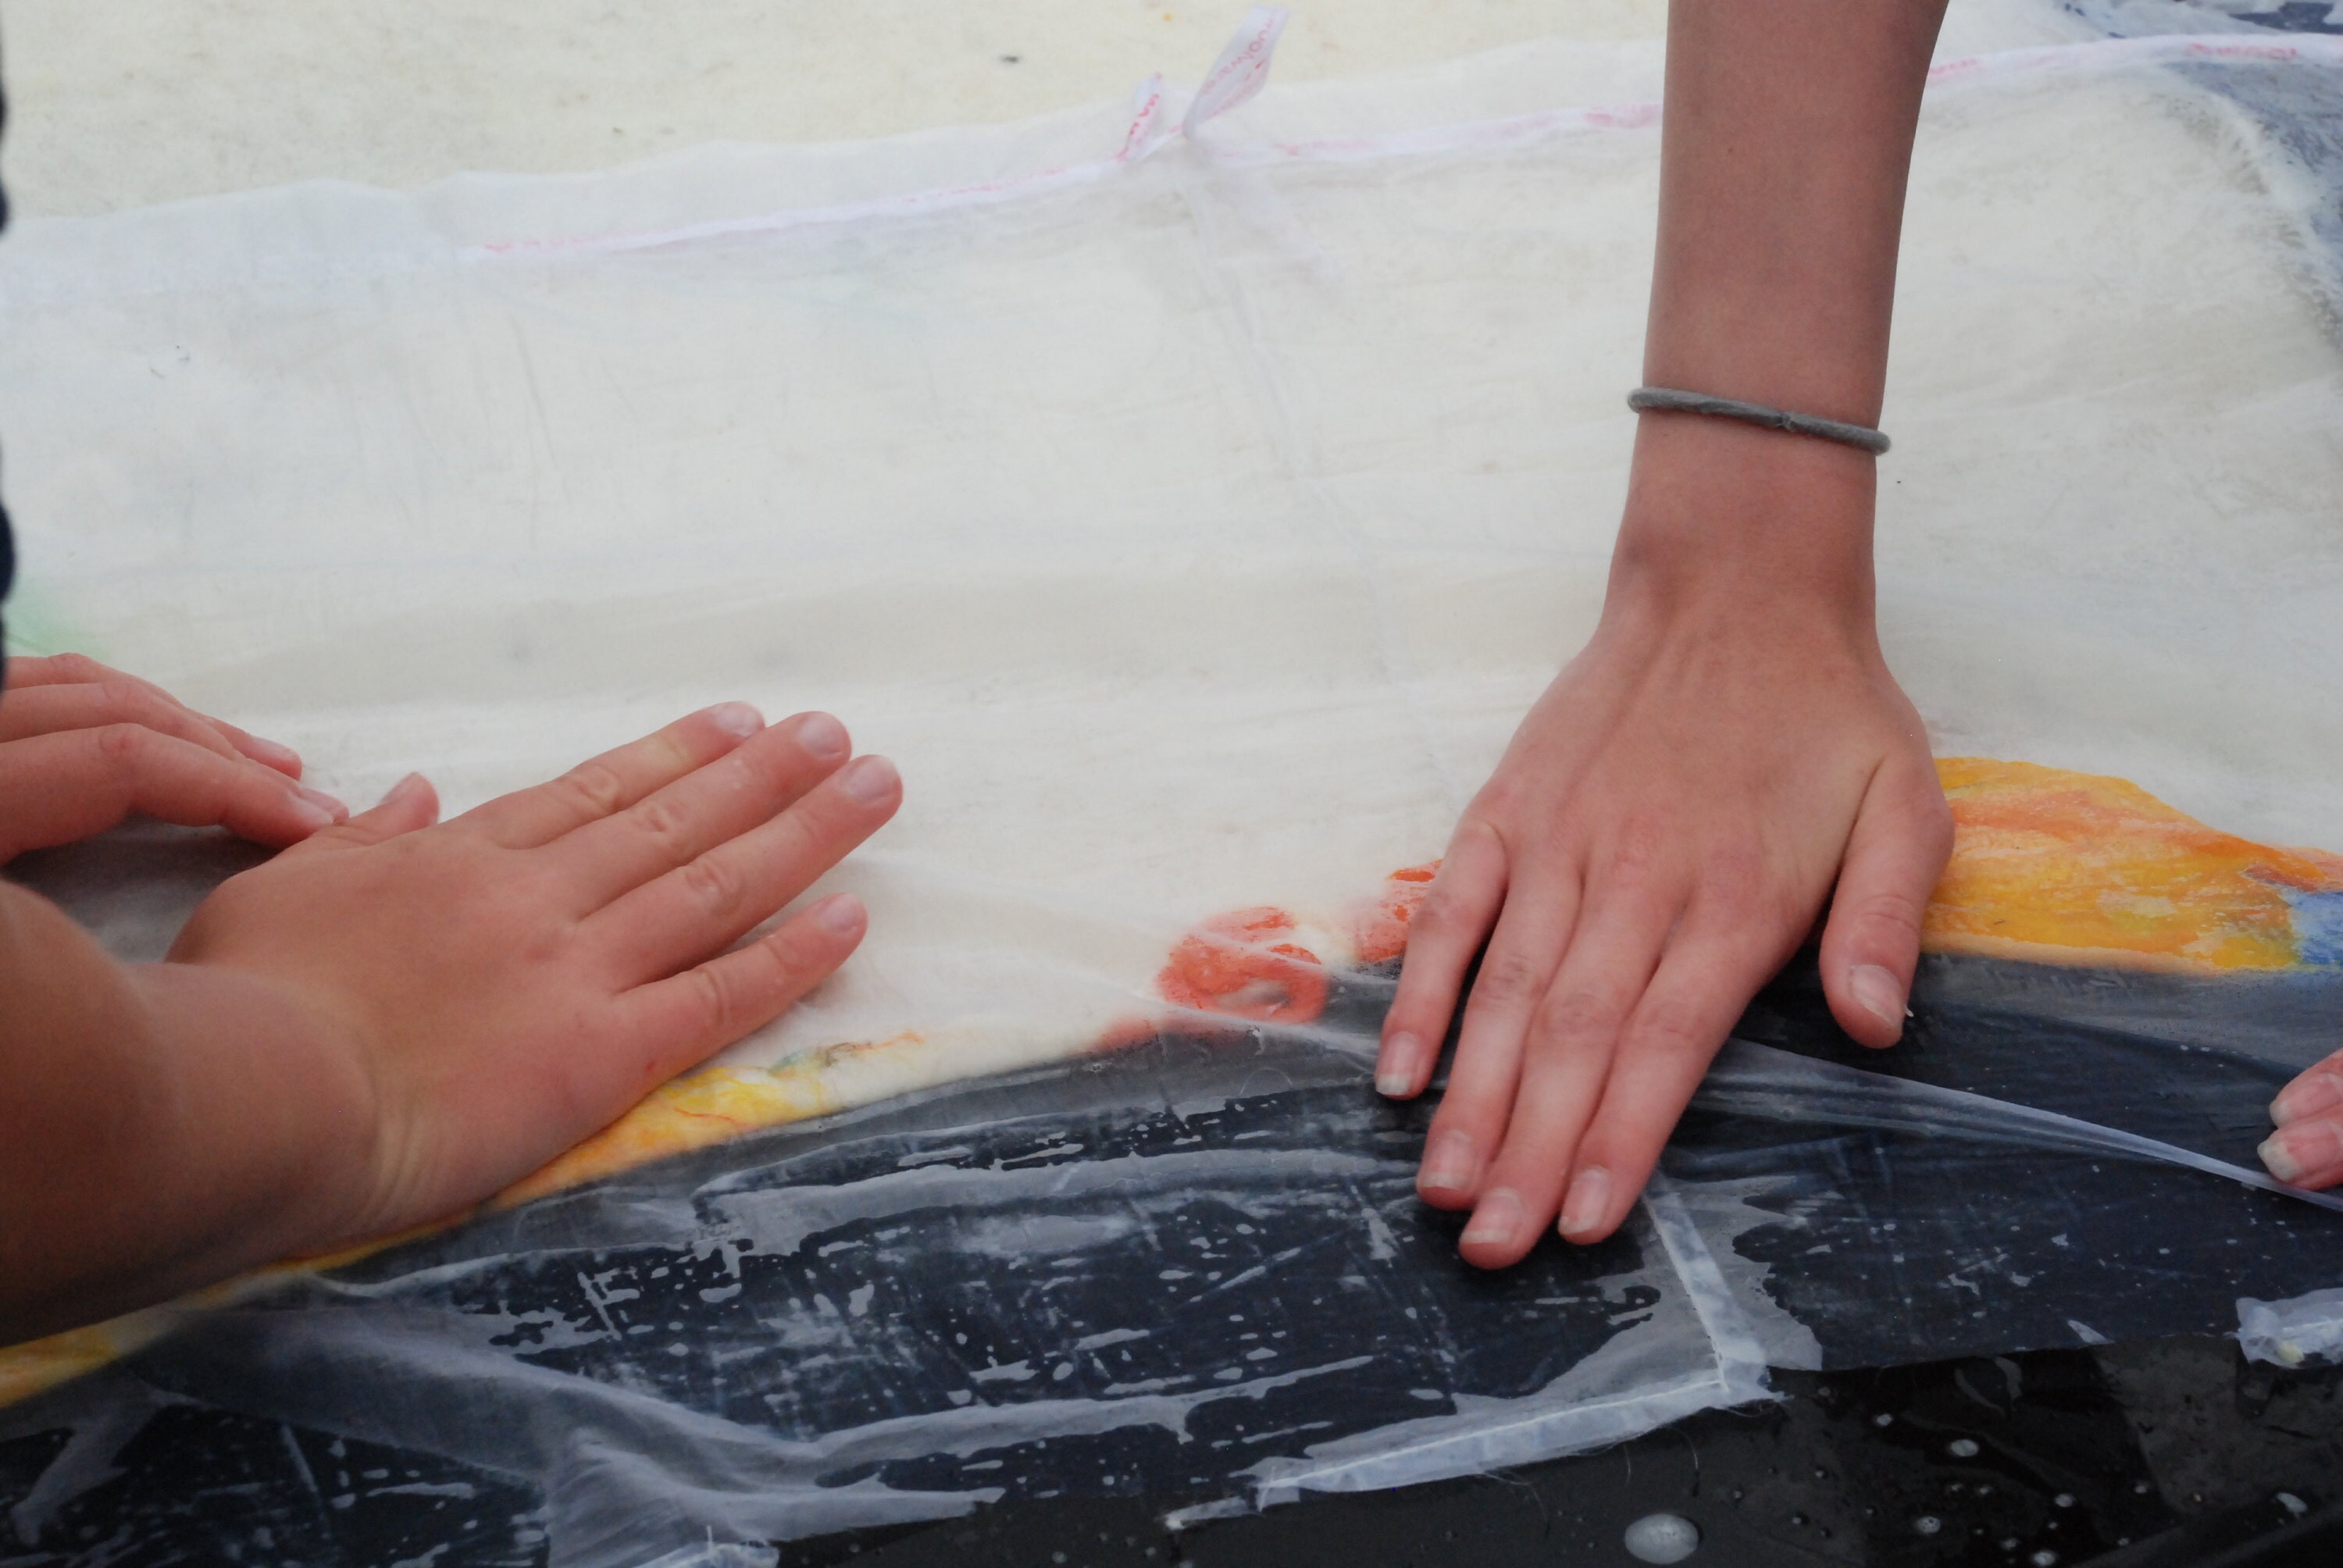
- Cover with netting or bubble wrap
- add some water and soap on top of the cover and start moving your hands across.
- Gently at first, to make sure your picture isn't going to move all over the place.
- Increase pressure and keep going.
- After 5min turn your picture upside down and repeat step 5 and 6.
- Keep going until the picture feels compact, turning regularly to make sure it shrinks evenly. About 20min in total.
- Roll the picture in a towl and roll it back and forth about 50 times.
- Turn, repeat step 9.
- Once finish, and the picture is well felted, rinse in Vinegar Water.
Voilà!


Comments
Post a Comment